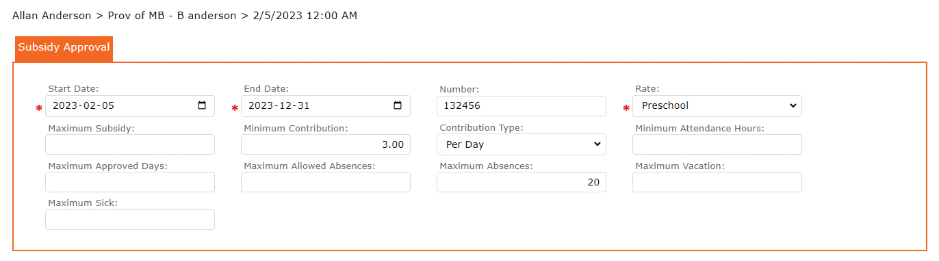
Subsidy approvals are stored on a Contact’s Payer file. The user will set up the subsidy approval and enter in the description and the name of the child the subsidy is for. Subsidy approval has a start and end date, allowable absent days, minimum, maximum parent contribution, approval rate, etc.
Add Subsidy Approval for a Payer
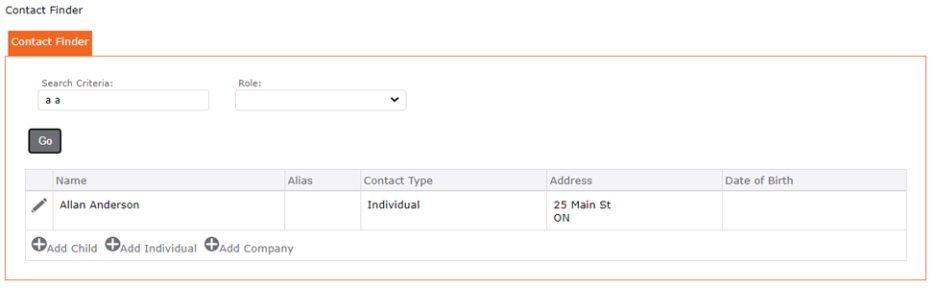
Go into the Contact/ Payer’s account:
- Left Menu > Contact
- Contact Finder > enter name of contact
- Click the GO
- Click the edit pencil icon to the left of the contact’s name to open their account
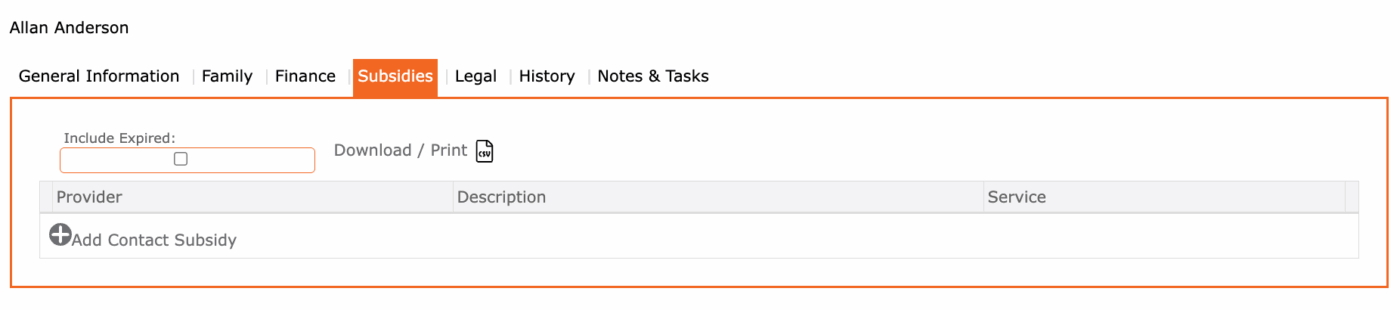
- Click the subsidy tab
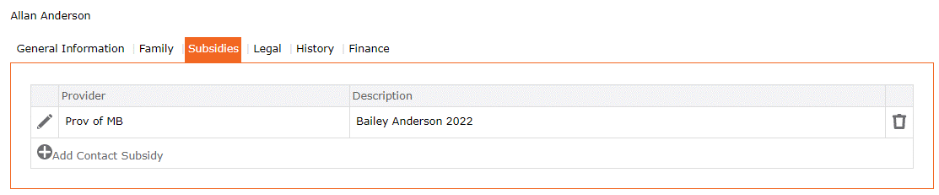
6. click the edit pencil icon to the left of the existing subsidy OR to create a new one, click the “+” add contact subsidy
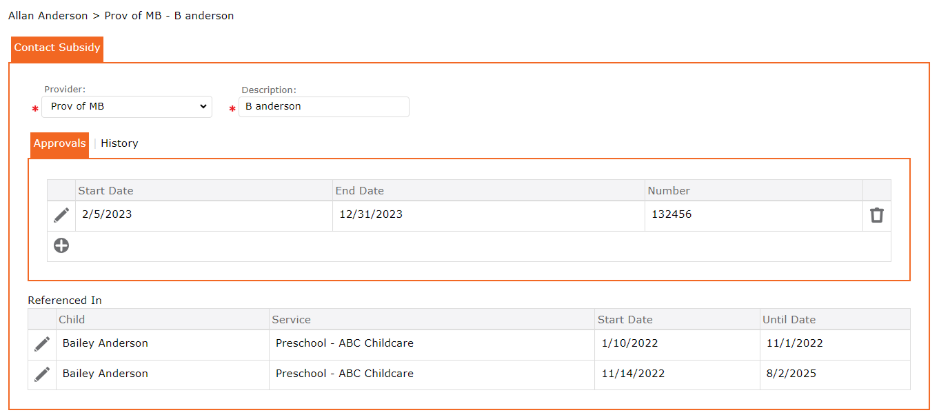
7. On the Contact Subsidy form, in the field Provider – Select from the from the drop-down the subsidy provider, example: Prov. of Manitoba (if there are not options in the drop-down list, these must be set up in the Left Menu > Setup > Lists > Subsidy Provider)
8. In the Description – enter the full name of the child approved for subsidy i.e., Bailey Anderson
For School Aged Children, you must enter two subsidy approvals. One for when the school is open (school age periods, rate = school age), and the second for when the school is closed (school aged full day, rate = school age full day).
9. In the Approvals tab – Click the “+” Add Subsidy Approval
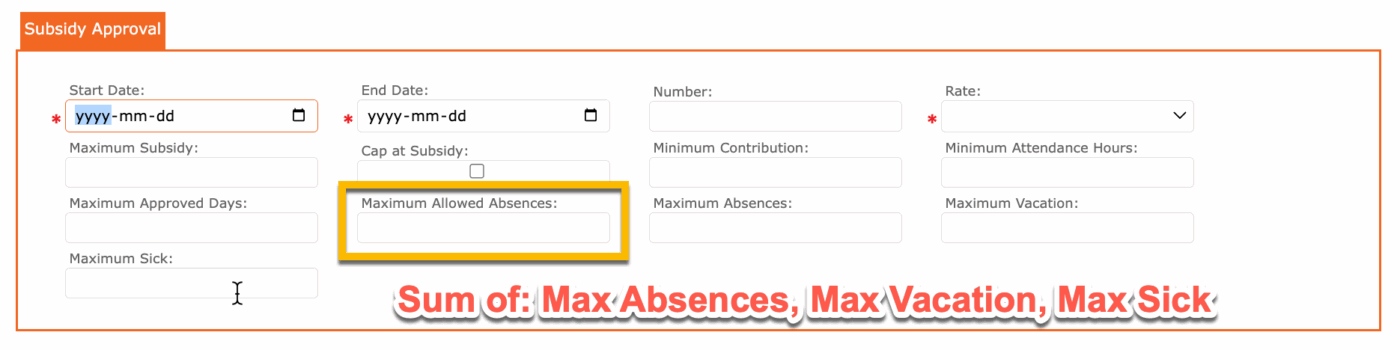
10. Complete the Subsidy Approval form
To Note: Maximum Allowed Absences is the sum of Maximum Absences, Maximum Vacation, Maximum Sick. For fully subsidized payers, the minimum contribution = $0.00.
TIP: To understand what each field does, hover over the field with your cursor. The cursor will then display a small pop up description.
11. Click the checkmark to apply and to return to the previous screen
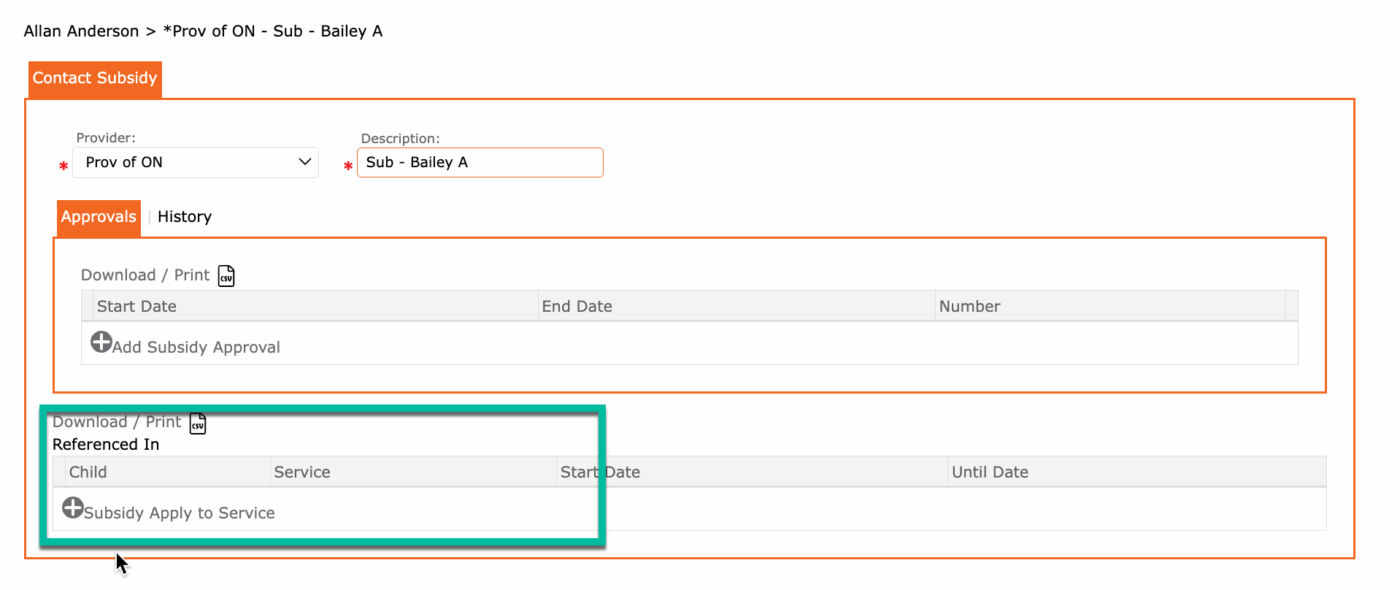
NEXT – IMPORTANT – click to add the service to which this subsidy approval applies to.
- Click “+” Subsidy Apply to Service
- Select the Service
- Click the checkmark to apply and return to previous screen
12. Click the SAVE icon to save the Subsidy Approval
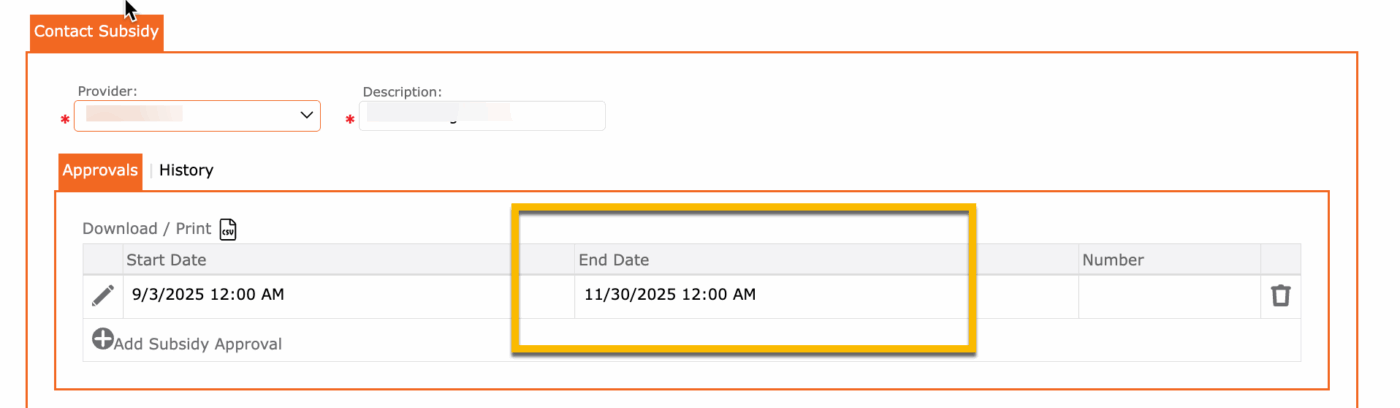
NOTE: The End Date’s time is not applicable. The subsidy will be approved for the entire day entered as the End Date.
Adding a 2nd Subsidy Approval
Subsidy Approvals are time sensitive. It has a start and end date. For this reason, more than one approval form can be set up for the same Payer, for the same child.
To set up a 2nd Subsidy Approval, repeat steps 3 to 11 above.
The user has successfully added a 2nd Subsidy Approvals to the Payer.