Once a custom form is created and all the fields added, the next step is to publish the Form by Clicking the PUBLISH button
By publishing a Form, it now becomes available and is displayed and can be added to a contact. i.e. If a child intake form is created, it can be associated to an age group and is published, it is now available to be completed under the child’s file.
Published Forms
The use of forms is unlimited. You may create your Intake Forms for your Human Resources, Home Providers, Parents, Suppliers, and more.
The software will automatically display, in the Forms Tab of each contact based on the role the contact has within your organization.
Using a Published Form
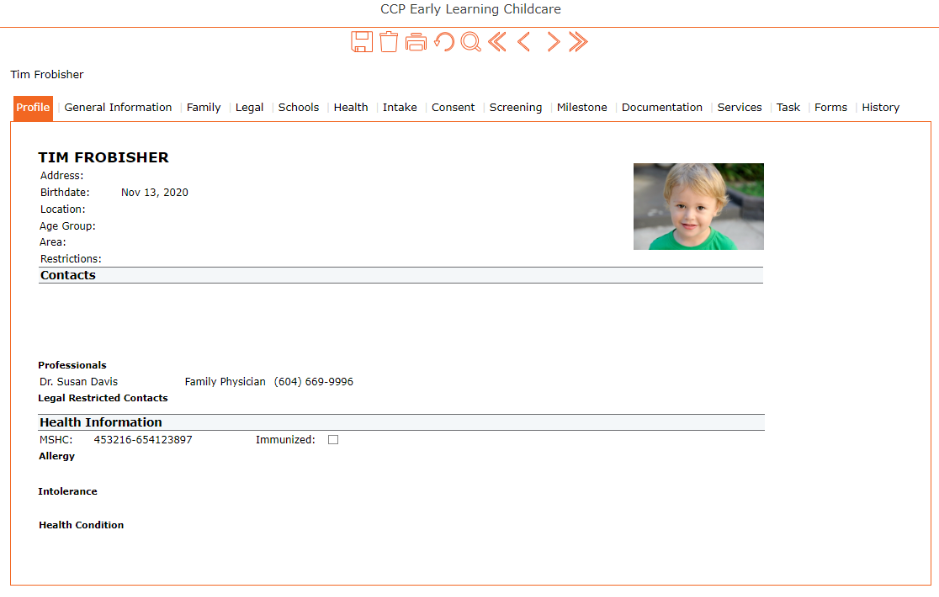
To fill out a custom form – go to the Contact’s account
1. Left Menu > Contacts > Find your Contact
2. Click the GO button to view their name
3. Click the edit pencil to the left of their name to open up their account
4. Their account Profile page will display
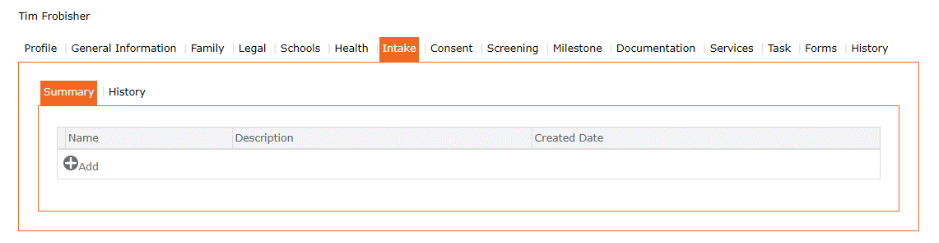
5. Click on the Intake Tab (or Consent, Screening, Milestone – depending on what form you need to complete)
6. Summary page displays, click “+” Add
7. Choose the form you want to complete > click the edit pencil

8. Complete the Form
9. Click the checkmark to apply all entries
10. Finish by clicking the SAVE icon on the contact’s main screen.

How to Print Custom Forms:
Should the user prefer to have the forms manually filled out, they can print them from the system.
To print:
Once a form is published, go to:
- Reports
- Select Child
- Select Programming
- Select Child Custom Forms
- Select the type of form
- Select which form you’d like to print
- View style = child custom form
- Click GO

To print, click the “Download/ Print PDF icon”
Follow the prompts to save it to your device, and then print.
