Intake Forms
Intake Forms are first created and published in the Setup > Custom Form. Once created they become available on the Intake Tab under a Contact/ Child’s file. The published forms will depend on how these were created and whether they were associated to all contacts, specific type of contact (i.e., child) or specific age group. The user will learn to view and complete an intake form for this contact. These forms will be displayed on the portal for online registration.
Add Intake Form to a Contact
1. Left Menu > Contact
2. Search for a child or “+” Add Child
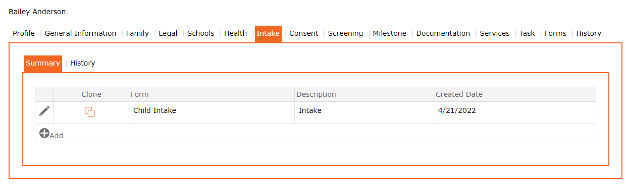
3. Click the Intake Tab from the top menu
4. Summary lists all of the completed Intake Forms
5. Click “+” Add Intake Form or to Edit, click the “Edit Pencil” icon found at the left of the Intake Form
6. Select the Intake Form to be completed
7. Complete the form
8. Click the checkmark icon ✓ (found at the top of the screen) to apply and return to previous screen
9. Completed form appears in the Grid
10. Click the “SAVE” icon (found at the top of the screen) to Save the record
11. The completed Intake for is saved and displays in the Grid